1. Getting Started: To initiate a scan using Org Intelligence, navigate to the dashboard and click on "Run a Scan."
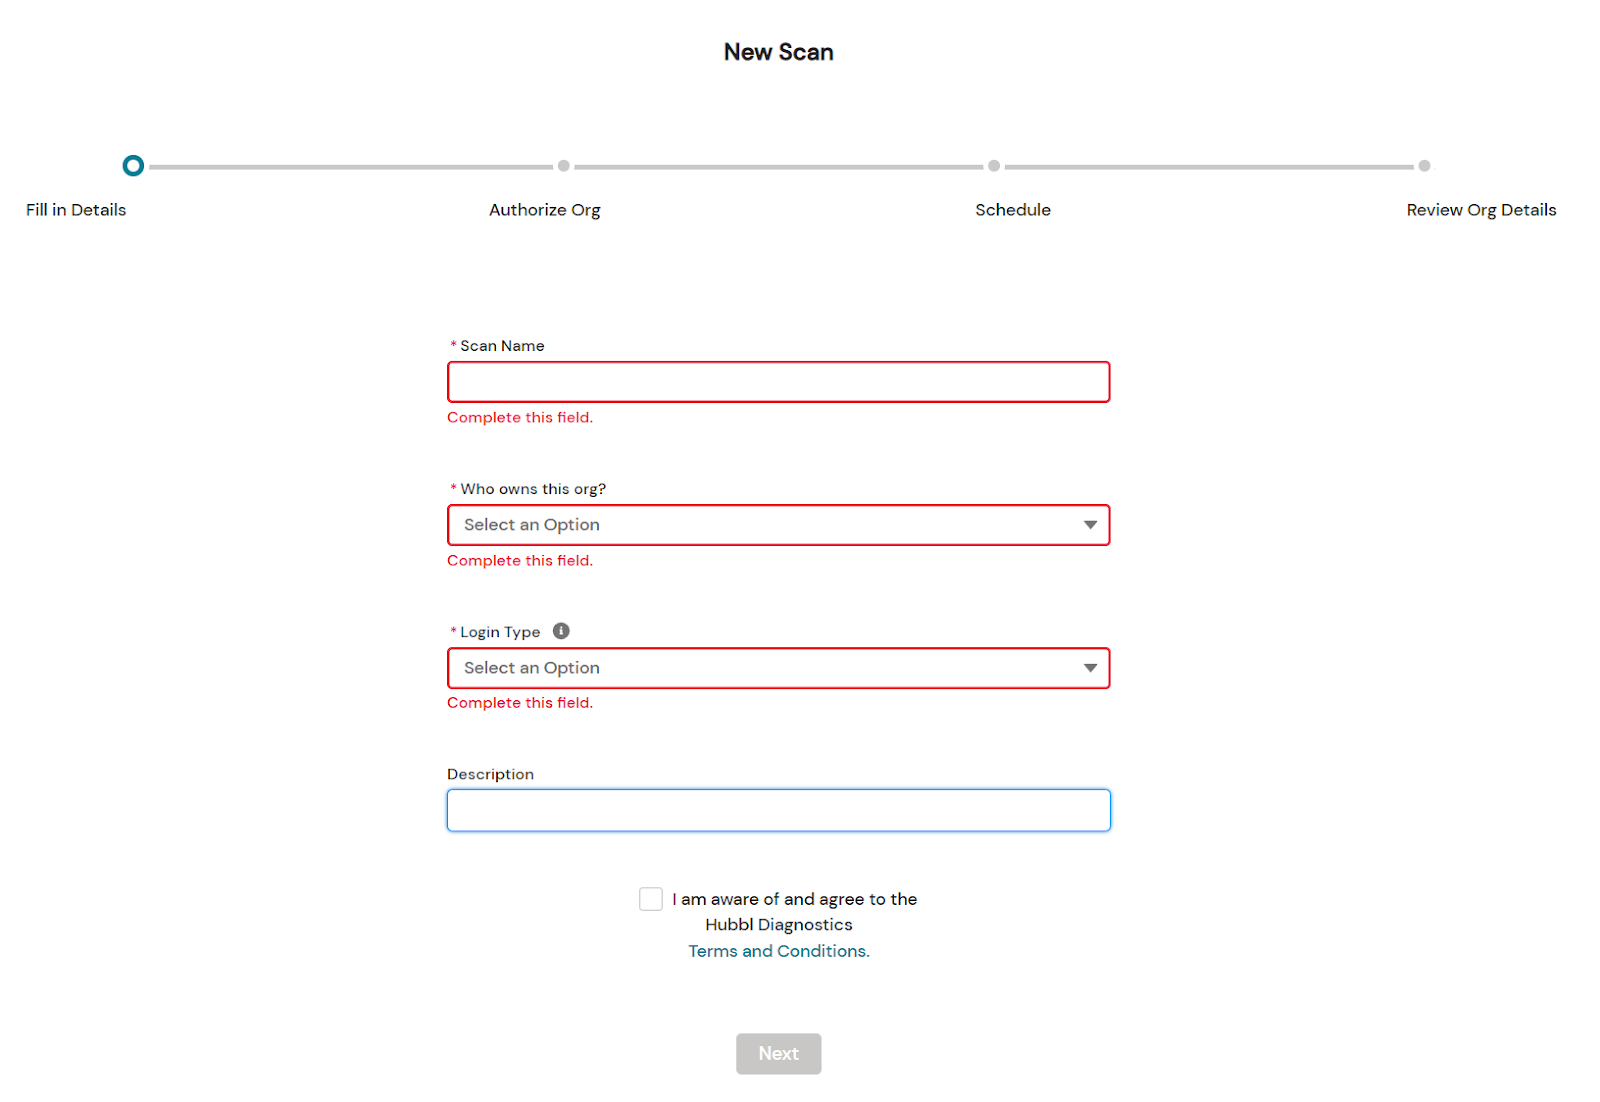
2. New Scan Setup:
3. Agree to Terms: Check the box to confirm your agreement with the Terms and Conditions, then click "Next."
4. Salesforce Login: You'll be redirected to a Salesforce login screen. Enter the credentials for the org you wish to scan, and if needed, input a custom URL. Click "Log In."
5. Authorization: Grant Hubbl Org Intelligence access to your org by clicking "Allow" when prompted.
6. Review Details: Back in the Hubbl Org Intelligence portal, review the auto-filled details from the previous steps. If anything is incorrect, click "Cancel" to start over.
7. Initiate Scan: Click on "Start Scan" to commence the Hubbl Org Intelligence scan on your selected org.
8. Scan Progress: Congratulations! Your scan is now underway. Monitor its progress by clicking "View Scans."
9. Check Scan Status: Navigate to the "All Scans" page, where you'll find your latest scan and its status, initially marked as "In Progress."
10. Scan Completion Notification: Expect an email notification when your scan is finished. The duration depends on your org's size.
Upon completion, you can review the basic scan results. Consider upgrading your scan for more valuable, actionable, and insightful outcomes!